Does grilling fish make you nervous? Don’t worry, it makes me nervous too — and that’s coming from someone who cooks with fish often! (And should probably be a pro by now, but let’s forget that.)
Luckily, the fear of dropping your glorious fillet into the fiery pits of your grill doesn’t mean you have to miss out on that smokey flavor. Grilling fish on a wooden plank is really easy, requires no anxious flipping, and it leaves you with minimal grill clean-up — not to mention a bad ass fillet of fish fully intact.
Finding the right plank
Get yourself a clean untreated slab of wood, approx. 7/16″ inch thick. Make sure that the length and the width of the plank is adequate enough to support the fillet you’re planning to grill. Cedar is the most popular type of wood used in grilling planks, but there are other options such as apple, cherry, maple, etc. Pretty much anything goes, as long as the wood is free from chemical treatments. To make your life easier, you can purchase ready-to-use cooking quality planks from specialty stores, grocery stores, and of course on Amazon. These are the trusty Cedar Grilling Planks I use.
How to Cook Fish on a Cedar Plank
Note: This method requires two hours of soaking the plank prior to cooking; grill time is dependent on the thickness of your fillet.
1. Soaking the plank. Soak the plank for two hours prior to grilling. This is done so that the plank doesn’t catch fire on the grill. It’s always wise to have a spray bottle filled with water handy in the event that the plank *does* catch fire and, if this happens, spray the flames on the plank down until they’re completely extinguished. The plank will burn/darken quite a bit, and that’s okay. The burning of the wood is what creates the smoke to give your fish that smokey flavor you’re after; it’s only when the plank catches fire that you need to take action and put it out.
2. Oiling the plank. As usual, you want to prevent the fish from sticking to it’s cooking surface. Very lightly brush the top of the plank where you’ll be setting the fish with cooking oil before setting the fish down. You can do this with a napkin or a basting brush.
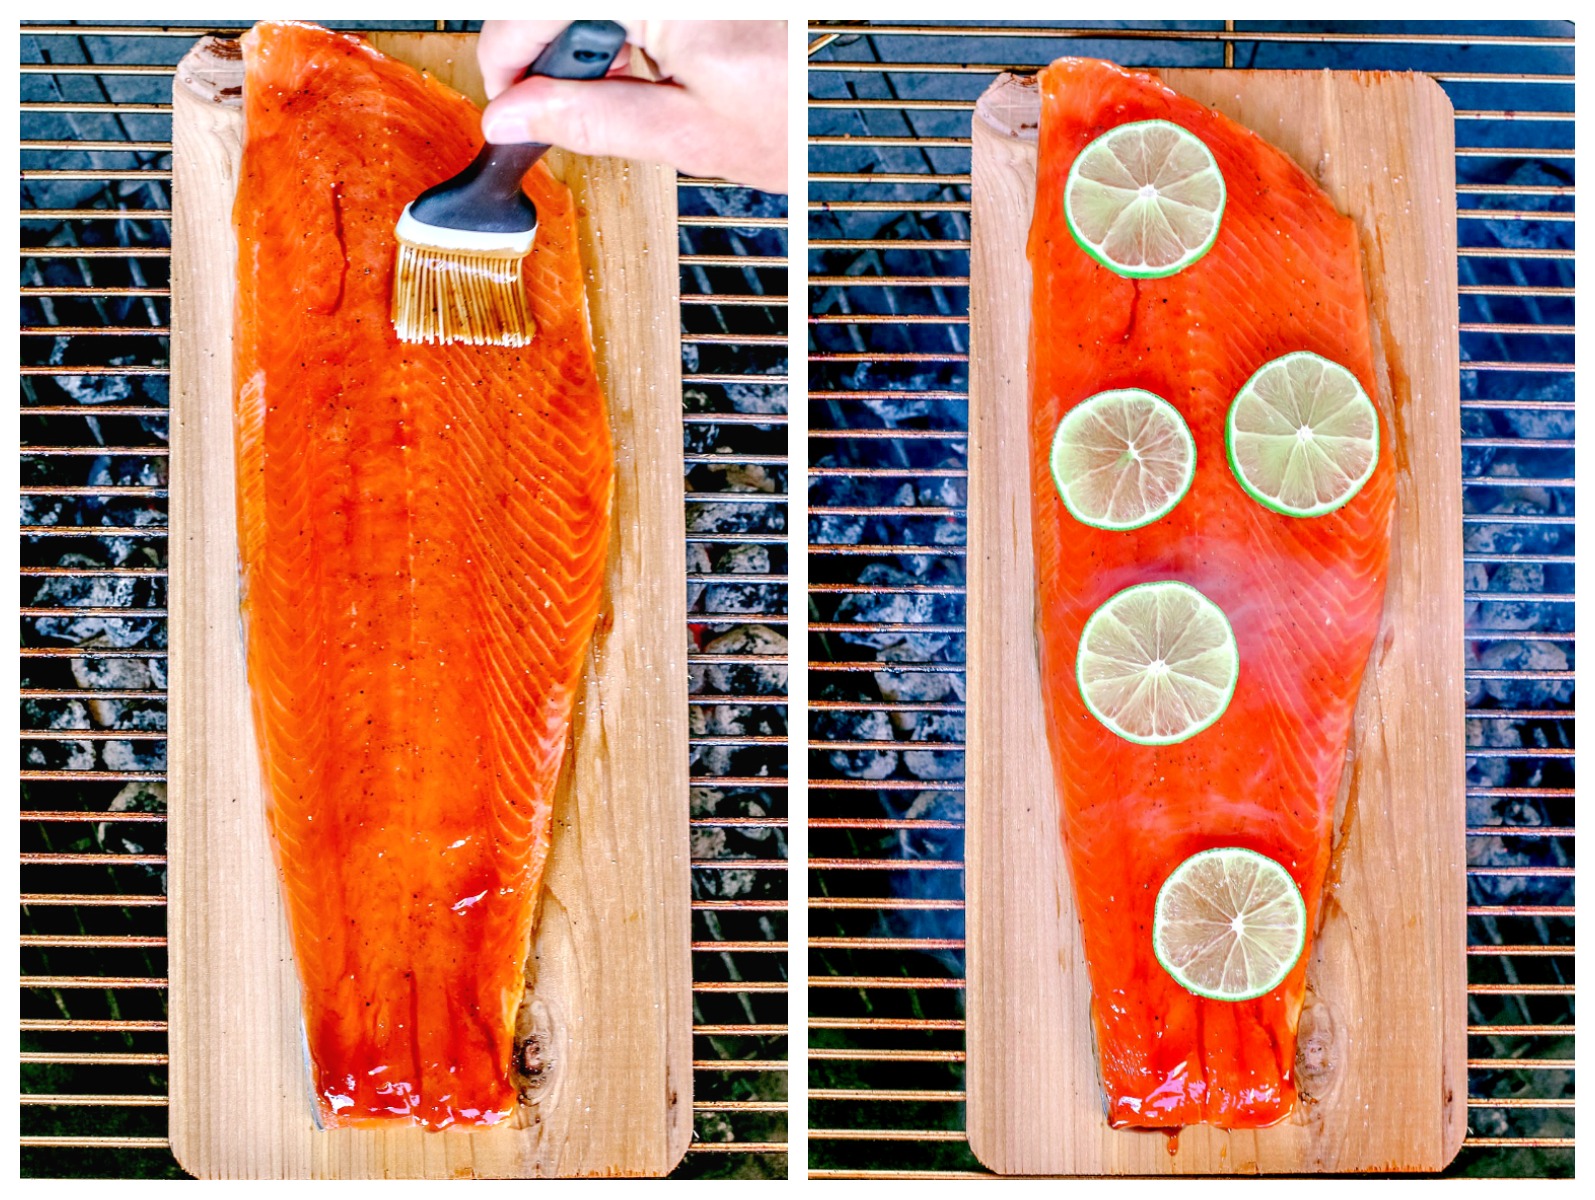
3. Preparing your fish. Take your fillet of fish out of the fridge and set it on the counter; let it come to room temp. When cold fish is added to heat, it can seize up and cook unevenly. Your safest bet is to set the fish out on the counter 15-20 minutes prior to cooking time. Season it as you wish before placing it on the plank. If using a mop/glaze, you may want to add that gradually throughout the cooking process, depending on what the recipe calls for.
4. Grilling with the plank. Heat your grill to 350 degrees F or to medium heat. Once heated, place your fish on the plank and carefully transfer the plank to the grill. Because the fish is being cooked indirectly, it *might* take a little longer to cook than if it were being grilled directly, but this isn’t for certain. Just keep this in mind while cooking, and if you have a meat thermometer, even better — once the fish reaches an internal temperature of 140 degrees F, you’re safe to remove it and let it sit to rest; protein will continue to cook as it rests, so it will likely reach the ideal internal temperature of 145 degrees F once it’s time to serve. Cooking times depend on the thickness of the fish, but 10-15 minutes is usually ideal.
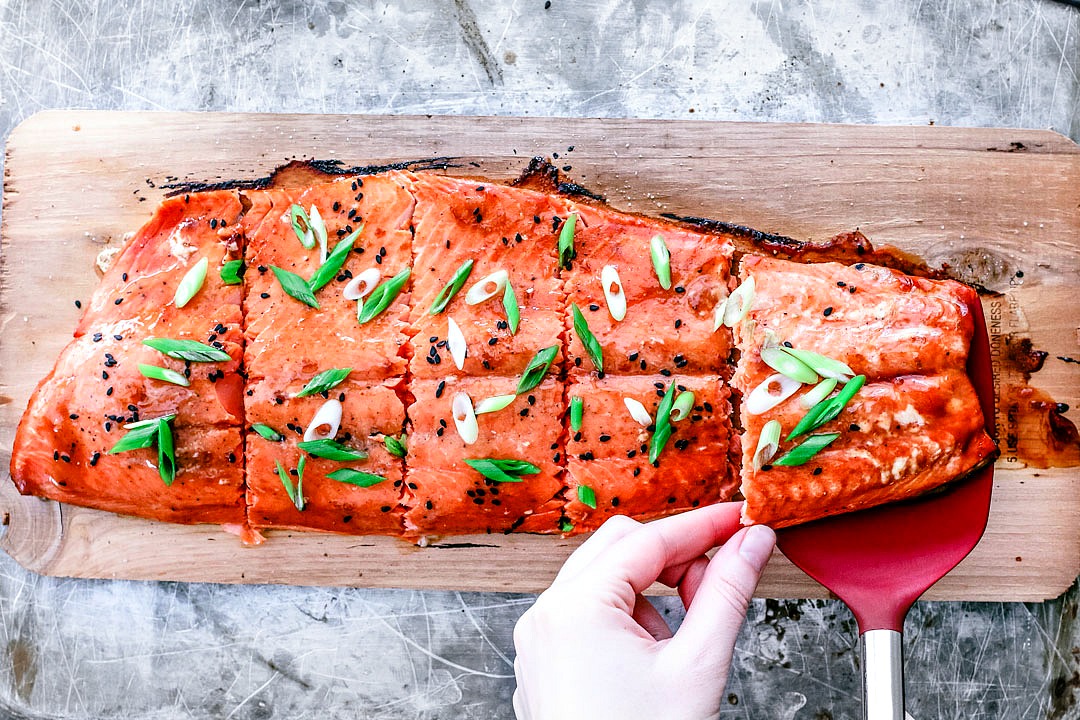
5. Removing the plank. Once the fish is ready, you can remove the plank while wearing barbecue mitts or carefully transfer the fish from the plank to a serving platter with a spatula. If you’re grilling over gas, you’ll want to remove the plank right away to avoid a lot of ash falling into the grill. If you’re grilling over charcoal and will be out with the grill for a while, you can let the plank burn off and clear out the ashes at a later time. If you’re leaving the grill unattended, remove the plank to be safe.


