This post contains affiliate links. Please see our disclosure policy.
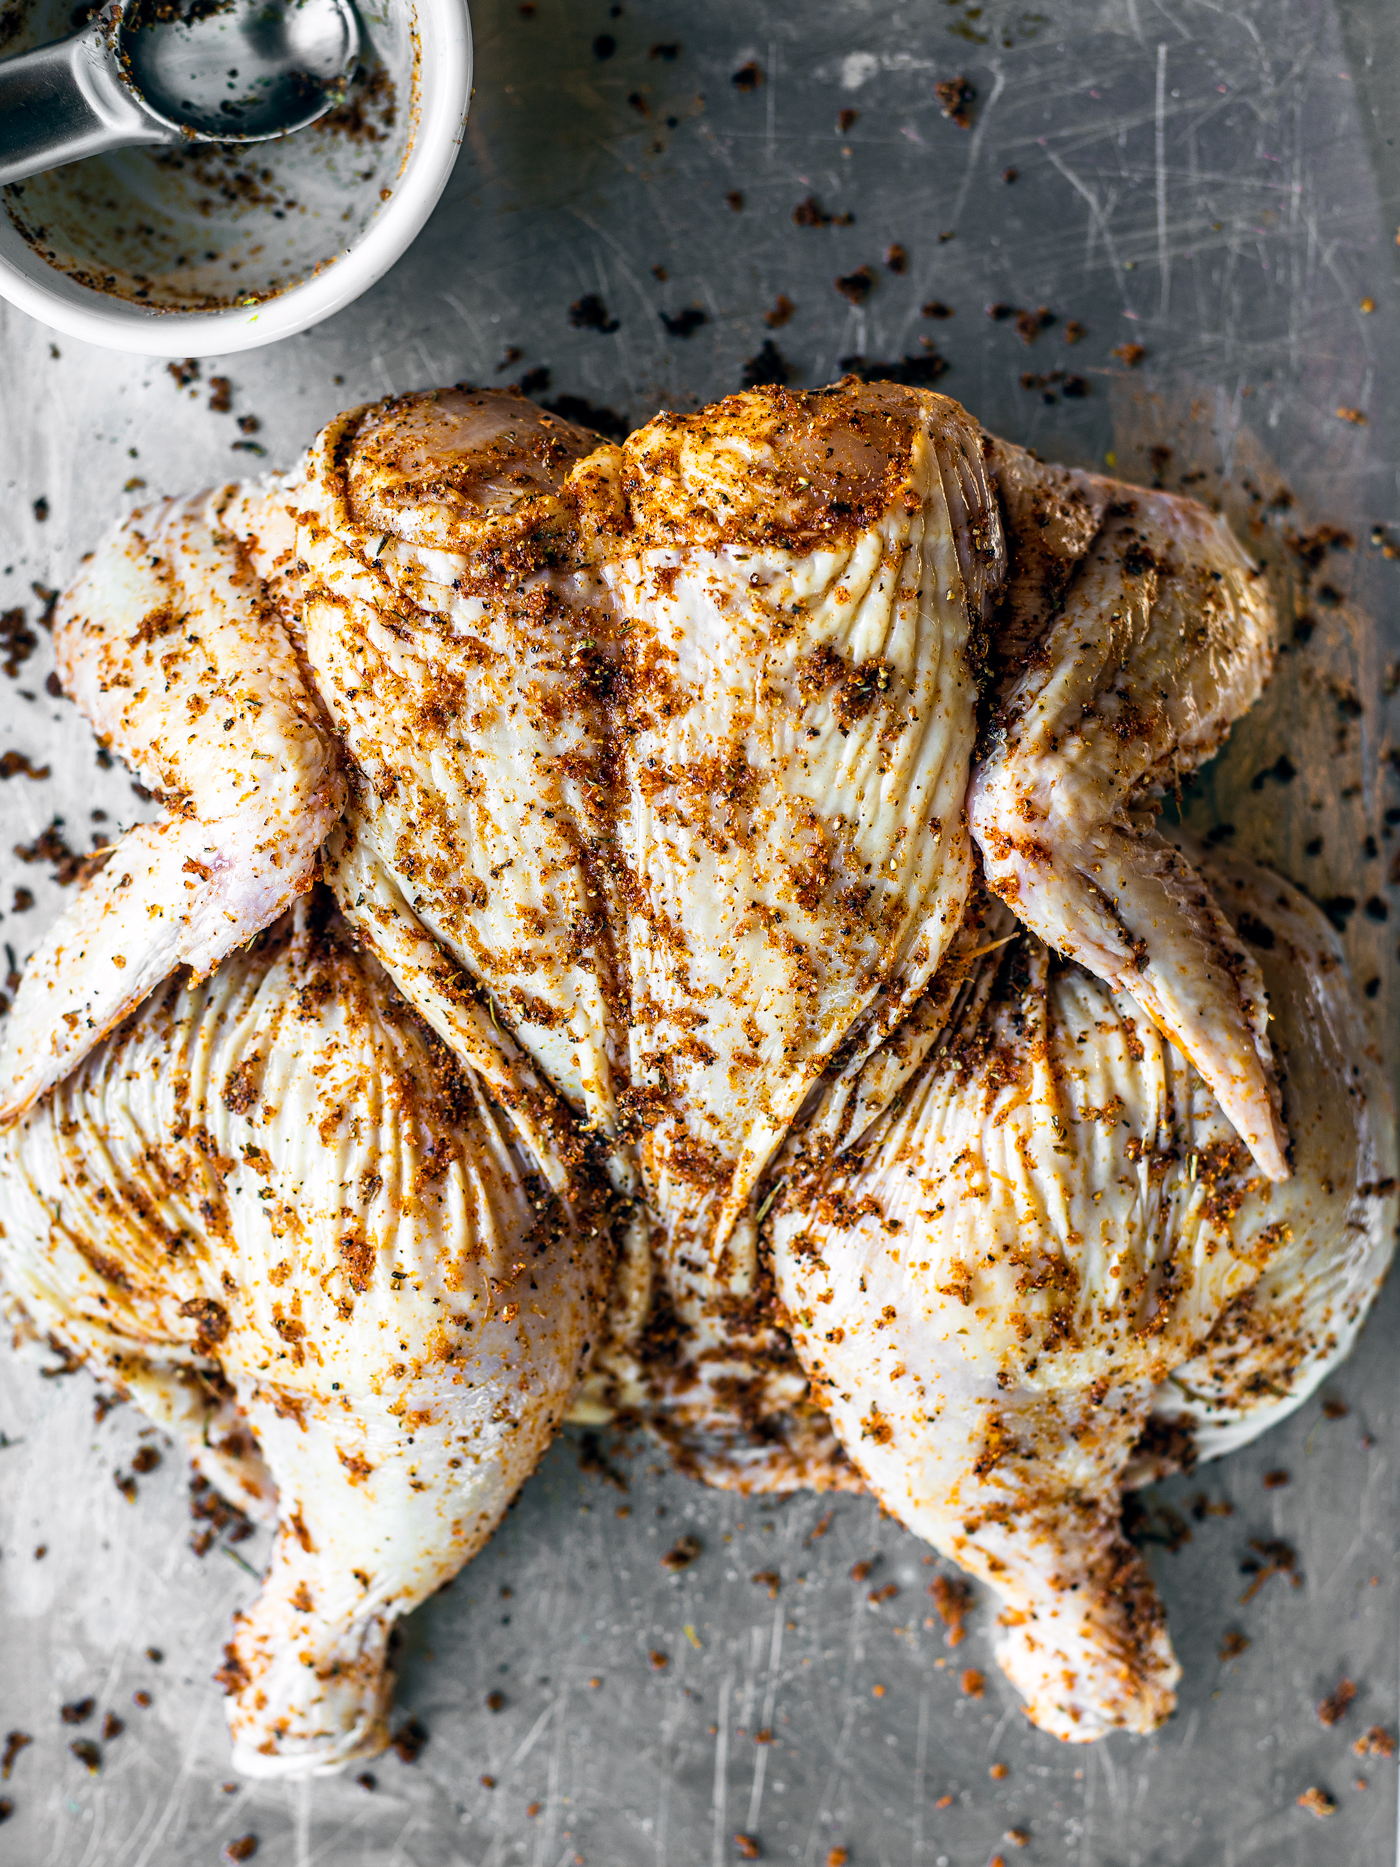
Spatchocked chicken is a great way to cook a whole bird. Not only do you get an even cook, but it’s a much quicker process! Read on to learn how to spatchcock a chicken.
This Is the Ultimate Way to Cook a Whole Chicken.
When it comes to roasting a whole chicken, spatchcocking is the way.
When you roast a chicken whole, some parts, like the breasts, cook faster than others. By the time your legs and thighs are cooked, your breasts will have lost that sought-after juiciness and tenderness.
But when you spatchcock a chicken? The whole bird cooks evenly—and in less time!
What Is a Spatchcocked Chicken?
To put it simply, a spatchcocked chicken is a chicken that’s split open and cooked.
You’re basically butterflying the chicken by removing the backbone with kitchen shears, flipping it over, and pressing the chicken down into an even layer. This ensures an even cooking time for all parts—breasts, thighs, and legs.
Useful Tools You’ll Need:
- Kitchen shears
- Paper towels
- Baking sheet
Here’s How to Spatchcock a Chicken.
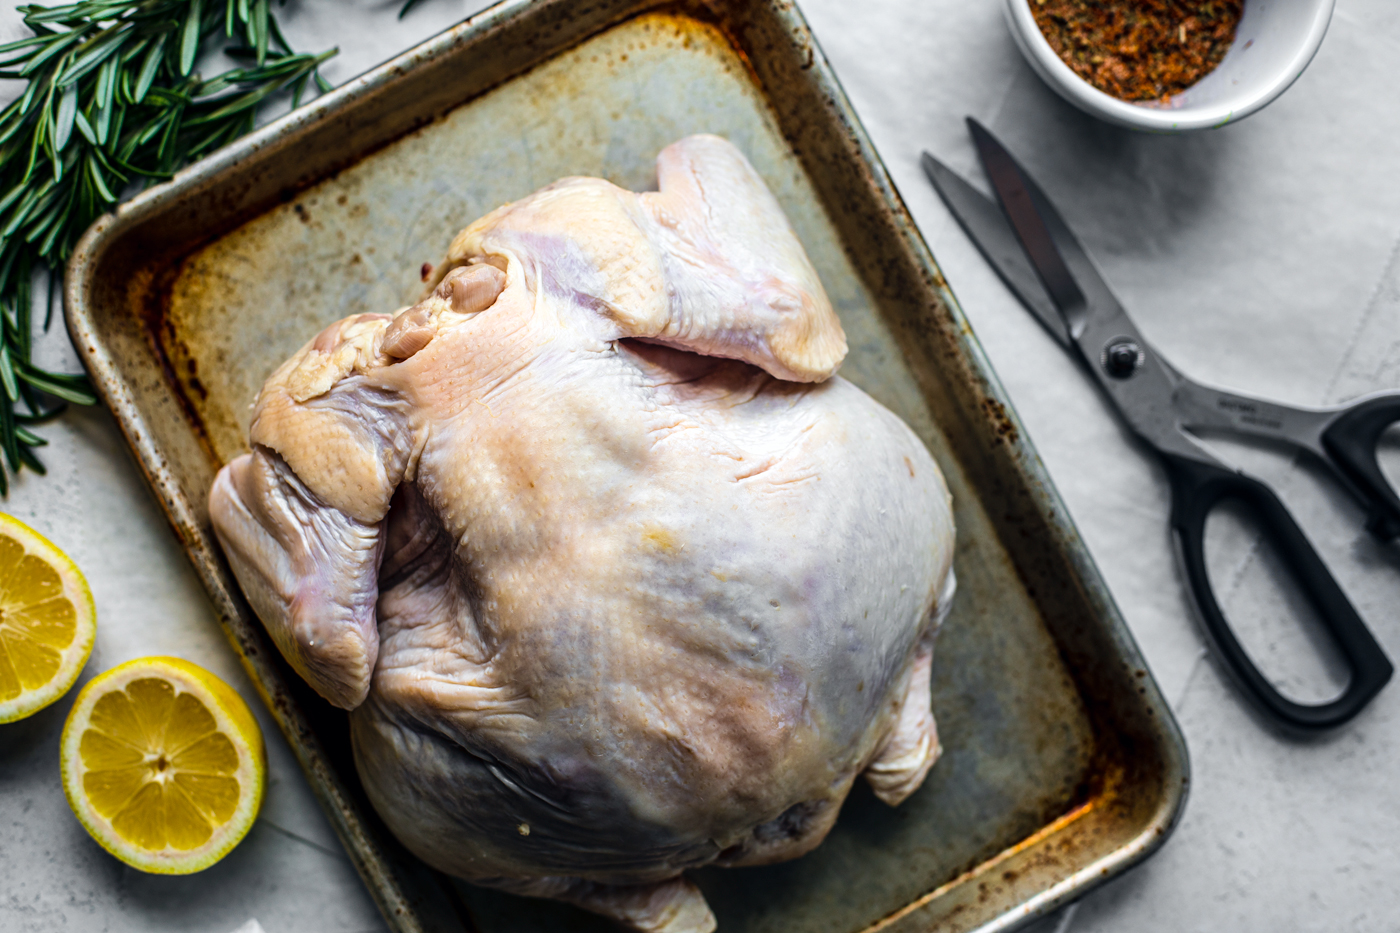
- Remove any packaged gizzards or pouches from the cavity of the chicken.
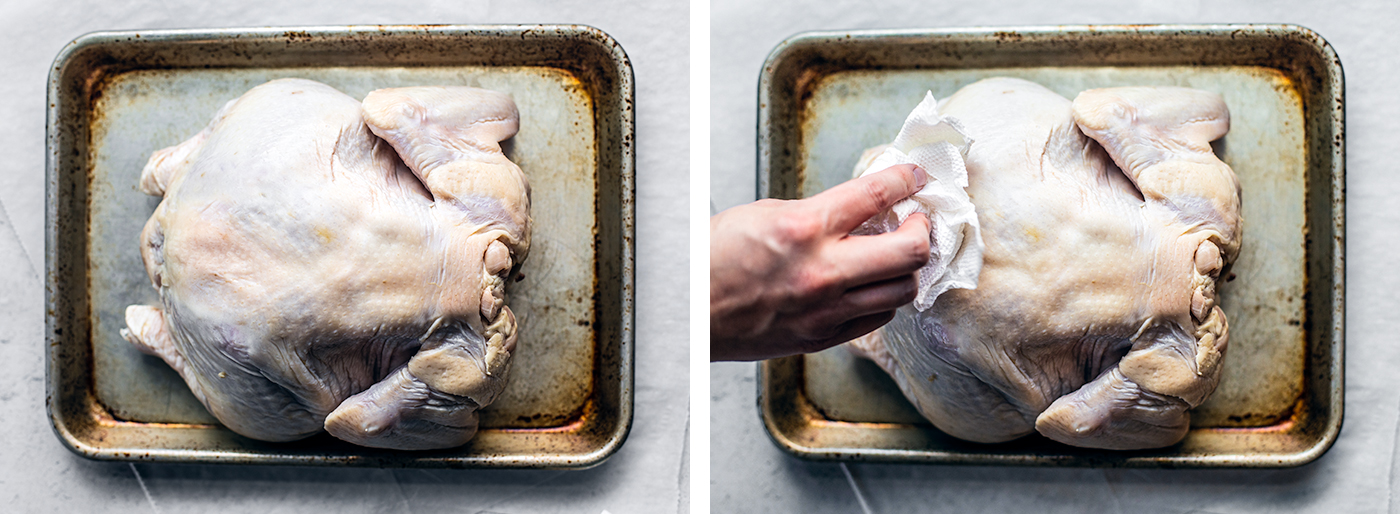
- Place the chicken onto a baking sheet breast-side down.
- Gently pat the chicken all over with paper towels to absorb excess moisture.
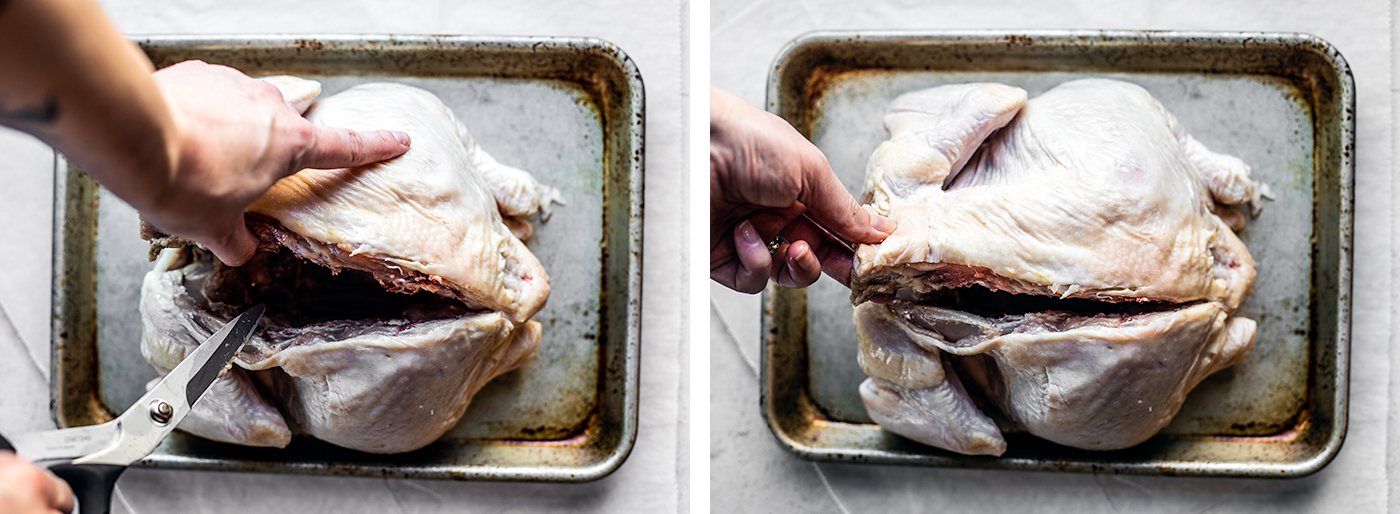
- With the chicken breast-side down, look for the base of the backbone at the opening of the cavity of the bird.
- With your kitchen shears, cut along the side of the backbone until the end, then cut along the other side of the backbone to detach it completely. It’s normal to have to give some force at times since you’re cutting through bone. You’ll also hear crunch-like sounds, which is normal.
- Once you remove the backbone, you can store it safely for chicken stock instead of discarding it completely!
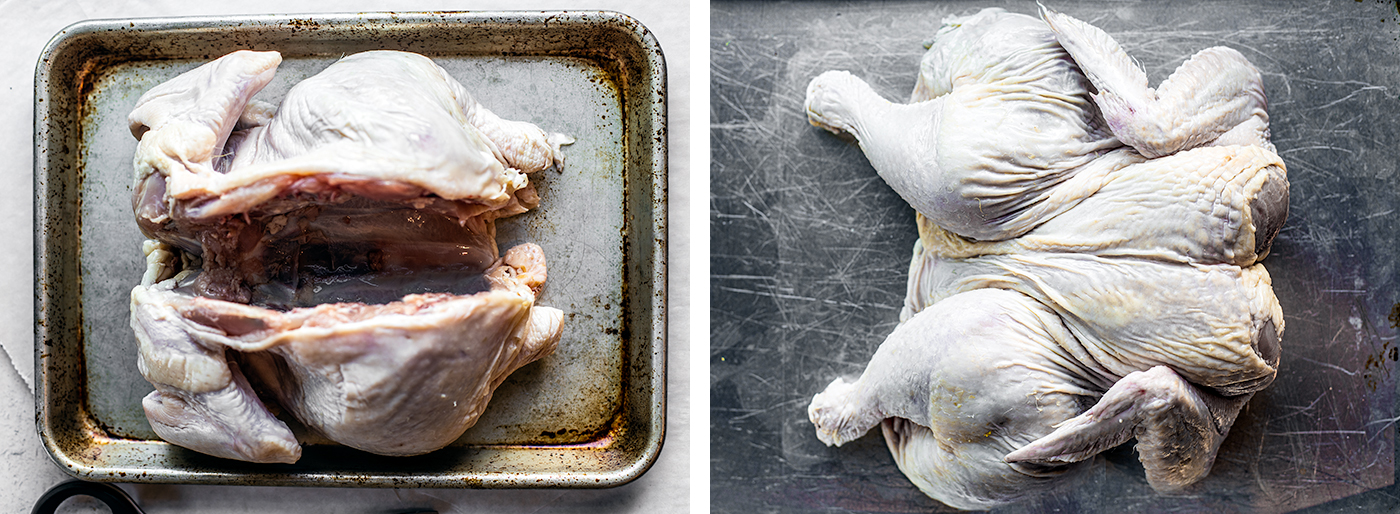
- With the backbone removed, carefully flip the chicken over and press down firmly on the breast bone to flatten the chicken into an even layer. You may hear the breastbone pop—that’s okay.
- Turn the thighs/legs outward.
- Oil it up, season it, cook it, and enjoy!
Put these skills to use with my Lemon Herb Spatchcocked Chicken!
How to Cook a Spatchcocked Chicken.
You can grill or roast a spatchcocked chicken! You could probably even pop one into the air fryer, honestly. I haven’t tried that yet, but it’s on my list, so I’ll come back to report.
Roasting
- Preheat the oven to 475º F.
- Oil and season the. bird well—I like to let mine sit and marinate at room temperature for an hour or so (you can safely let your poultry sit out at room temperature for two hours, according to the USDA).
- Pop it into the oven for about 40 minutes.
Grilling
- Preheat the grill to medium heat.
- Generously brush the grates with high-heat oil, like pure olive oil.
- Once the grill reaches temperature, place your oiled and seasoned chicken onto the grates skin side down. Cook it until the skin is golden and crispy; this should take about 5 minutes.
- Bring the heat to low and carefully flip the chicken over. Grill the chicken until all of the skin is golden and crisped and a meat thermometer registers an internal temperature of 165º F. This entire process should take about 45 minutes.
Have You Tried Spatchcocking a Chicken?
If this tutorial helped you, please consider leaving a STAR rating & commenting below with feedback!
You can also show off your creations on Instagram by tagging @killing__thyme
How to Spatchcock a Chicken
Equipment
- Kitchen shears
- Baking Sheet
- Paper towels
Ingredients
- 1 5 lb whole chicken
Instructions
- Remove and discard any packaged gizzards or pouches from the cavity of the chicken. (Or save them for chicken stock).
- Transfer the chicken onto a baking sheet breast-side down.
- Pat the chicken gently with paper towels to get rid of any excess moisture.
- Make sure the chicken is breast-side down. Look for the base of the backbone at the opening of the bird. Now with your kitchen shears, cut along the side of the backbone until the end of it. Then cut along the other side of the backbone to remove it completely. You may have to give it some force since you're cutting through cartilage; crunching sounds are also to be expected.
- After removing the backbone, store it safely for chicken stock instead of throwing it out!
- With the backbone removed, carefully flip the chicken over and press down firmly on the breast bone to flatten the chicken into an even layer. You may hear the breastbone pop—that's normal; turn the thighs/legs outward.
- Oil and season the bird, cook it, and enjoy!


Ok I have to admit I’ve been nervous to cook a whole chicken like this but your recipe made it easy! Thank you for the clear directions!
Happy to hear it, Liz!
Thanks for these helpful instructions – really easy to follow.
I’m glad!
Love detailed steps on how to spatchcock chicken. Thanks for sharing
No problem!
Thank you for such detailed instructions! You’ve made it so much easier than I thought!
You’re welcome :)
We were invited to a Friendsgiving and they served spatchcocked turkey. It was so good so I wanted to try it for chicken. I love all the details you included. I’ll try it for dinner tonight.
Hope it worked out well!
Great instructions! Was just wondering about how one goes about this.
Hope it helped!
One of my favorite way to cook chicken. Your detailed steps are very helpful here.
Happy to hear it!
I needed this! Thanks for the great tips! It came out great. Definitely will use this technique again!
Awesome!
I used this chicken recipe last night and it was so helpful! It couldn’t have been easier, thanks for sharing!
I’m so glad!
I’ve always been a little afraid of spatchcocking chicken but this made it feel so easy! Thank you for all the notes and step by step photos – it really helped to be able to see what it should look like at every step. Will definitely add to the dinner rotation!
You’re very welcome, Jessie! I’m so glad this was helpful. It’s so easy once you do it!